Administration
Communication-Announcing, Emailing, Messaging
Send Campaigns And Direct Messages.
The communication module is there to enable you to send campaigns to the organisation and its people. You can also send direct messages in bulk or per individual.
Under the communication module, you can create email campaigns, create announcements, and send private direct messages.
The Email Campaigns
Creating Email Campaigns
To create an email campaign, click on the “Create” button.
Creating Email Campaigns
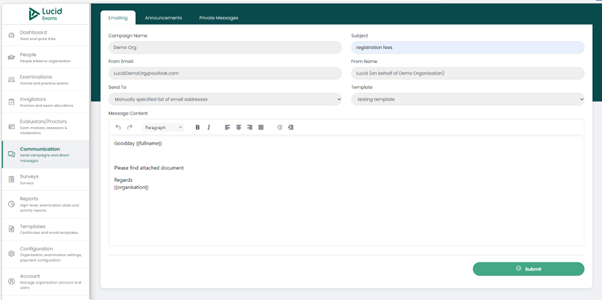
Capturing Email Campaigns into The System
Details required when creating an email consist of:
- Campaign name: the name of the campaign
- Subject: the subject of the campaign
- From email: the email address of the person who is sending the email.
- From name: the name of the person who is sending the email.
- Send to: the recipients of the email, which can be a large group or a selected few.
- Template: the template that will be used to create the email. All available templates will be available in the dropdown to select from.
- Message content: the main body of the email.
Once all the details have been captured, you can submit the email, which will automatically send it to its recipients.
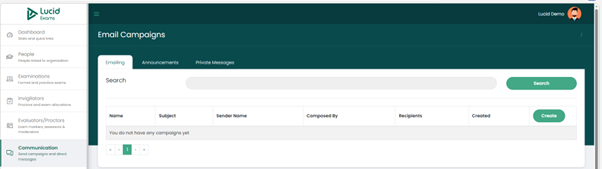
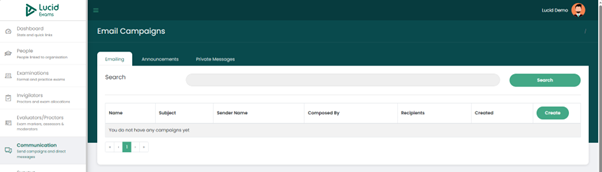
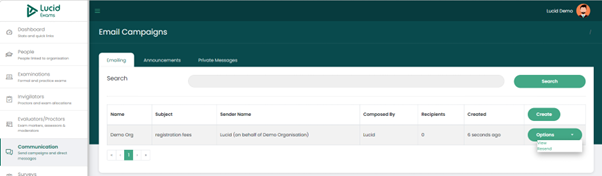
The Email Campaigns Display Page
Email Campaign Records Display Main Page
Once created, on the Emailing main tab, the data fields displayed consist of:
- Name: the name of the campaign
- Subject: the subject of the campaign
- Sender name: the name of the person who sent the email.
- Composed by: the person who created the email.
- Recipients: the number of email recipients
- Created: the date or time the email was created
- Options: per email entry, there is an Options button with a dropdown, you can view emails sent and you can also resend emails.
You can search for emails by using the search section to filter your results. You can search using the email name or subject.
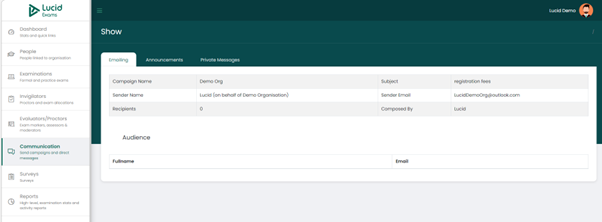
Viewing Email Campaigns Information
Previewing All Email Campaigns Details
To view the email, click on the “View” button on the Options dropdown. Details displayed on the view page consist of:
- Campaign name: the name of the campaign
- Subject: the subject of the campaign
- Sender name: the name of the person who sent the email.
- Sender email: the email address of the person who sent the email.
- Recipients: the number of people who received the email
- Composed by: the name of the person who composed the email
- Audience: the display of people to whom the email was sent, displaying their full names and email addresses.
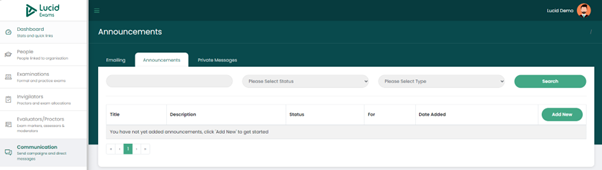
The Announcements
Created announcements.
All created announcements are displayed on this announcement page. To add an announcement, click “Add new” to get started.
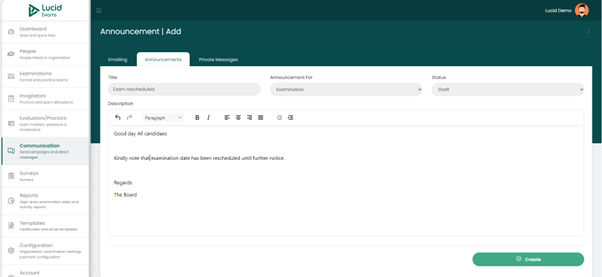
Creating Announcements
Capturing Announcements into The System
Details required when creating an announcement are:
- Title: the title of the announcement.
- Announcement for: the group meant to receive the announcement. You can select from the available dropdown list.
- Status: the status of the announcement can range from:
- Draft: created but not sent
- Published: visible to the recipients.
- Unpublished: not visible to anyone
- Description: the message content of the announcement
Once all the details have been captured, click the “Create” button to create and save the announcement.
The Announcements Display Page
Announcements Records Display Main Page
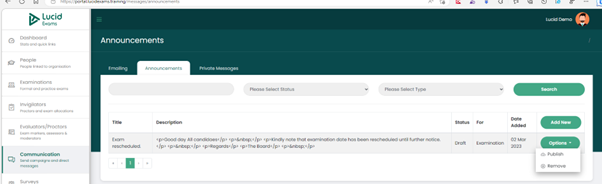
Once created and saved, it will be displayed on the Announcement main page. The data field columns displayed on the main page consist of:
- Title: the title of the announcement
- Description: the content of the announcement
- Status: the status of the announcement, ranging from being a draft, published or unpublished.
- For: the recipients of the announcement
- Date added: the date that the announcement was created.
- Options: the option button has two dropdown options; you can
- publish an announcement if it is not published.
- unpublish published announcements.
- remove the announcement by deleting it.
- Search filter: you have the option to search by filtering your results, filtering by:
- Announcement status
- Recipient type
The Private Direct Messages
Creating Private Direct Messages
You can create and send direct messages to its private recipients. All the created messages will be displayed under the Private messages page/tab. To create a private message, click on the “Create New” button.

Creating Private Direct Messages
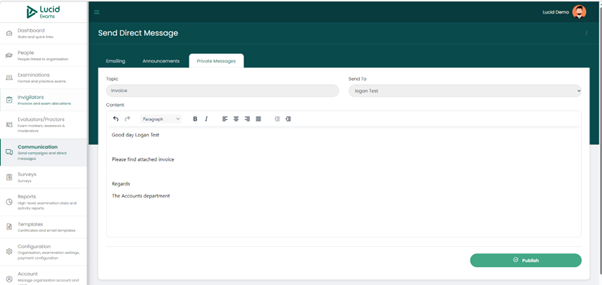
Capturing Private Direct Messages into the System
Details required when creating private messages consist of:
- Topic: the title of the message
- Send to: the recipient of the message. You can select the recipient from the dropdown list of people within the organisation.
- Content: the message body
Once all the details have been specified, click on the “Publish” button to send the message.
Private Direct Messages Display Page
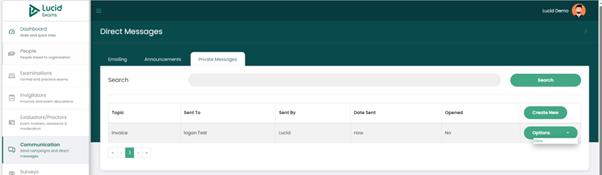
Private Direct Message Records Display Main page
All created messages are displayed on the main page. The data columns on this page consist of:
- Topic: the title of the message
- Sent to: the recipient of the message
- Sent by: the person who sent the message
- Date sent: the date the message was sent.
- Opened: an indication that the recipient has opened the message or not
- Options: under the options dropdown, you have the option to view the message in summary.
- Search filter: you can filter your messages by topic, or by the recipient.
Viewing Private Direct Messages
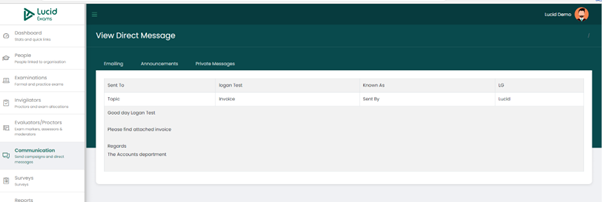
Viewing Of Direct Messages.
To view the email, click on the View button on the Options dropdown. Details displayed on the view page consist of:
- Sent to: the message recipient’s name.
- Topic: the title of the message
- Known as: the nickname of the message recipient.
- Sent by: the name of the person who sent the message.
- The contents of the message